

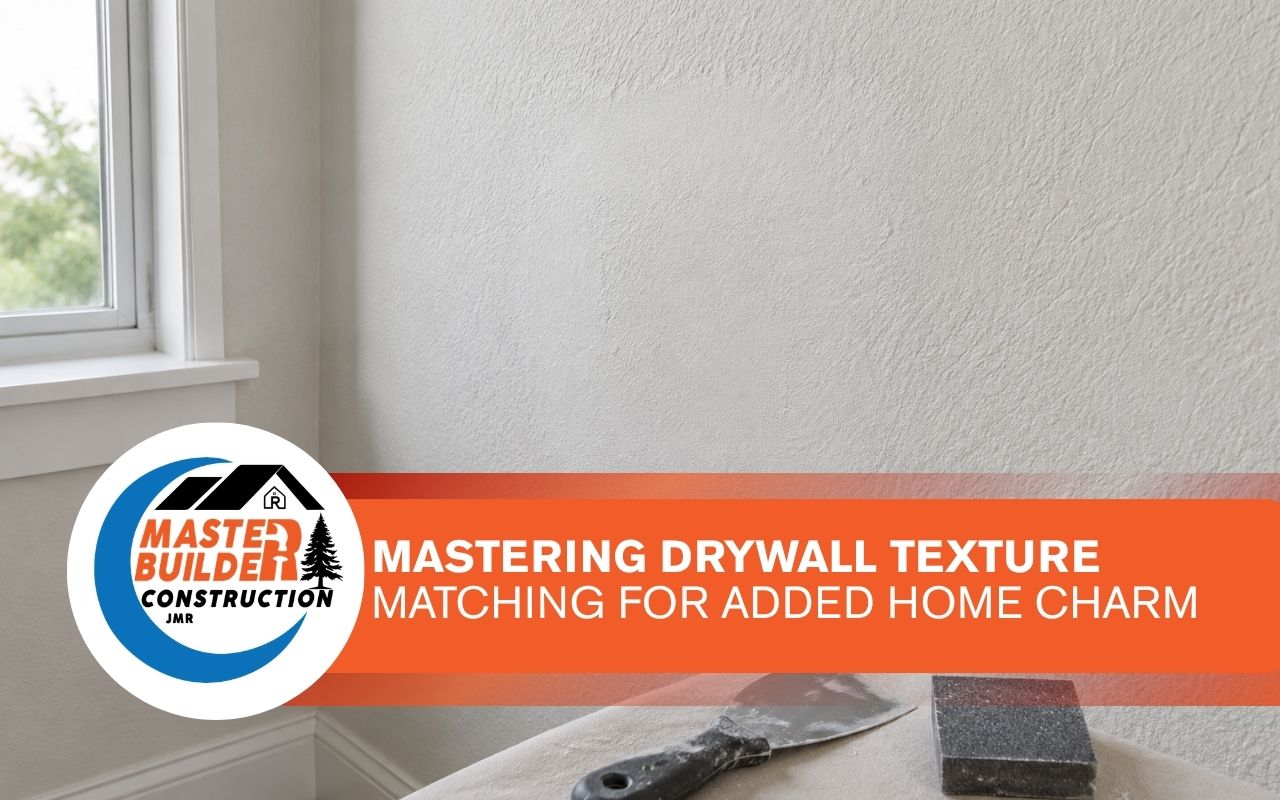
Mastering Drywall Texture Matching for Added Home Charm
Small wall and ceiling details can change how a room feels. At Master Builder Construction JMR, we focus on clean finishes that help repaired areas blend with the rest of your home. For support with repairs, texture work, or planning, visit our construction and repair services.
Drywall texture matching is more than covering a patch. It is the process of making patterns, depth, and paint finish work together so the repair does not stand out.
Why Texture Matching Matters After Drywall Repair?
A smooth repair can still look unfinished if the texture does not match. After drywall patch repair, the eye often catches differences in pattern size, surface depth, or paint sheen. Good drywall texture matching helps the wall look whole again instead of repaired.
Texture consistency also supports long-term home appeal. When walls and ceilings have a balanced finish, rooms feel cleaner and more complete. This matters after small dents, larger repairs, water damage, or remodeling work that changes part of an existing surface.
Common Wall and Ceiling Texture Types
Before any repair begins, it helps to know which finish is already on the surface. Each texture has its own pattern, thickness, and repair method.
Orange peel texture has a light splatter pattern that looks like the surface of an orange.
Knockdown texture starts with sprayed compound that is lightly flattened for a soft, raised look.
Popcorn texture has a rough ceiling surface and is more common in older homes.
Skip trowel texture uses hand-applied compound for a more custom pattern.
Slap brush texture creates a feathered look with a brush and joint compound.
Our team at Master Builder Construction JMR reviews the existing texture before choosing a method. This helps us plan the right steps for wall finishing, ceiling texture repair, or interior wall repair.
How We Prepare Surfaces Before Matching Texture
Preparation affects the final look as much as the texture itself. The repair area should be dry, clean, and free from loose paint, dust, or weak compound. A stable surface helps the new texture bond well and blend more evenly.
We also protect nearby floors, trim, doors, and furniture before applying compound. Good lighting is important because it helps reveal uneven spots before primer and paint are added. A careful setup makes the final repair cleaner and easier to inspect.
Orange Peel and Knockdown Texture Techniques
Orange peel texture and knockdown texture both need control and practice. The mix, spray pressure, distance, and timing all affect how closely the new area matches the old one.
For orange peel texture, the compound is usually thinned so it can spray in small, even droplets.
For knockdown texture, the compound is thicker so it forms soft peaks before being flattened.
For ceiling texture repair, steady movement helps avoid heavy spots or thin coverage.
For small patches, test sprays help match droplet size before applying texture to the wall.
Drywall texture matching works best when the repaired area overlaps lightly into the existing finish. This softens the edge and helps the new pattern blend instead of stopping suddenly.
Mistakes That Make Patches Stand Out
Even a solid repair can look obvious when small steps are rushed. Many texture problems come from uneven compound, poor timing, or painting before the surface is fully ready.
Spraying too heavily can create thick spots that draw attention.
Using the wrong compound consistency can change the texture pattern.
Skipping primer can make paint absorb differently on the repaired area.
Sanding too soon can tear the texture and create rough edges.
Using a different paint sheen can make the patch visible in bright light.
Blending also depends on patience. A repair may need light sanding, touch-up texture, primer, and paint before it looks complete. Each step should support the final surface, not just cover the damage.
When Water Damage Affects Texture Blending
Water damage can make texture matching harder because the wall or ceiling may have stains, soft drywall, or loose compound. Before applying new texture, the damaged material must be corrected so the surface can hold the finish properly.
For related repair needs, our guide to drywall water damage repair explains why damaged areas should be handled before texture and paint are finished. This is especially important for ceiling texture repair, where stains and sagging can return if the base problem remains.
Frequently Asked Questions
Can a drywall patch repair match the original wall texture?
Yes, a drywall patch repair can blend well when the surface is prepared, the right compound is used, and the texture pattern is tested first. For help planning the right service, visit our repair and construction services.
Is orange peel texture easier to match than knockdown texture?
Orange peel texture can be easier on some walls because it uses a fine spray pattern. Knockdown texture often needs more timing control because the peaks must be flattened before the compound dries.
What should happen before ceiling texture repair begins?
The ceiling should be checked for stains, loose material, or moisture-related damage. When water is involved, our drywall water damage repair resource can help you understand why the base surface matters.
Can texture matching improve interior wall repair results?
Yes, texture matching is a key part of interior wall repair because it helps the finished area look natural. With Master Builder Construction JMR, you can discuss your wall or ceiling needs through our contact page.
Does wall finishing include primer and paint?
Wall finishing often includes primer and paint after the texture has dried. Primer helps the repaired and existing areas absorb paint more evenly, which reduces visible differences in color or sheen.
Plan Your Interior Wall Repair With Confidence
Drywall texture matching can turn a visible repair into a cleaner, more polished surface. When you choose Master Builder Construction JMR, we look at the existing finish, repair needs, and final paint result so the work feels connected to the rest of the room.
Whether your home needs wall finishing, interior wall repair, or help after ceiling damage, the right texture plan matters. At Master Builder Construction JMR, we can help you take the next step through our drywall repair contact page.